
Professional Guide to Repairing Deteriorating Grout
A Killingworth True Value Tip
Crumbling grout can detract from the look of your tiled surfaces and compromise structural integrity. This common issue is often the result of improper mixing or application. Fortunately, it can be effectively corrected with the right approach. Follow these expert-recommended steps to restore and protect your grout lines:
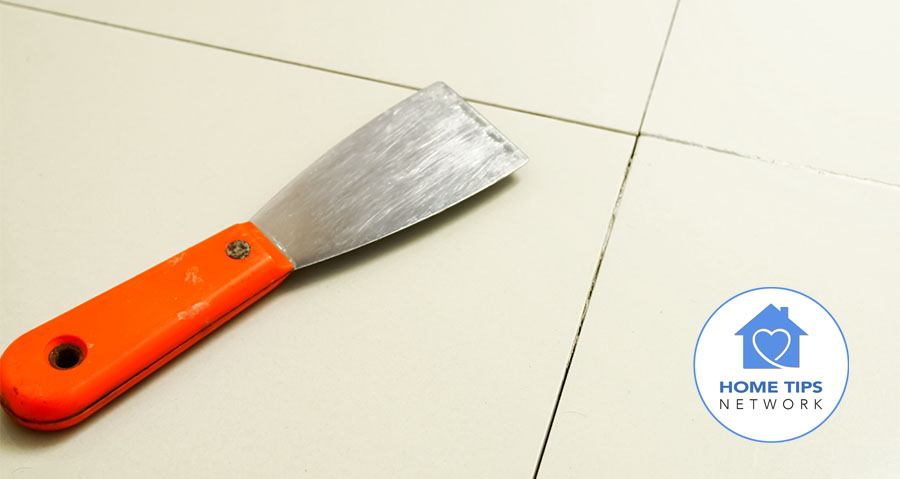
1. Carefully Remove Damaged Grout
Begin by eliminating any loose or crumbling sections using a grout removal tool, such as a grout saw or utility knife. Work gently to avoid scratching the surrounding tiles. If the grout beneath remains solid, limit your removal depth to approximately 1/16 of an inch. Use a vacuum designed for fine particles to clean the debris. If mold or mildew is present, sanitize the area with a bleach solution and allow it to dry completely before proceeding.
2. Prepare the New Grout
Choose a grout product suited to your specific tile and application—whether sanded or unsanded. Always follow the manufacturer’s instructions closely, referring to online resources or tutorial videos when available. Mix only small batches you can apply within 15 minutes to prevent waste and ensure optimal consistency. Larger repairs may require multiple mixes.
3. Reapply the Grout
When applying the new grout, use a rubber grout float or, for tighter spaces, your finger to firmly press the material into the joints. Proper technique and angle matter—especially for vertical surfaces or detailed work—so take time to review recommended methods based on your tile type and location.
4. Clean Excess Material
After application, use a damp sponge to gently wipe away excess grout from the surface of the tiles. Let the grout begin to set for about 15 minutes, then follow with a clean, dry cloth to remove any remaining haze.
5. Protect with Sealant
To maximize durability and resistance to moisture and stains, allow the grout to cure fully—typically about seven days—before applying a sealant or grout colorant. This final step will extend the life of your repair and enhance the appearance of your tiled area.
Need professional assistance with grout repair? Our experienced technicians are here to help ensure long-lasting, flawless results.

Leave a Reply
Want to join the discussion?Feel free to contribute!